Form Builder
The FormBuilder Widget helps you create custom forms like Contact Us, Register, or Request Quote easily—no coding required.
📌 What Can You Do with FormBuilder?
- Create Contact, Feedback, or Registration forms
- Collect information like name, email, message, etc.
- Send form data directly to your email
- Show custom success/failure messages
- Add CAPTCHA to protect from spam
- Customize layout and button design
🛠️ Step-by-Step Guide
Step 1: Open Layout Builder
- Go to your Joomla Administrator Panel
- Navigate to:
System→Site Template Styles→ Click on your Astroid template - Click the “Template Options” button
- Open the Layout tab
- Launch the Layout Builder
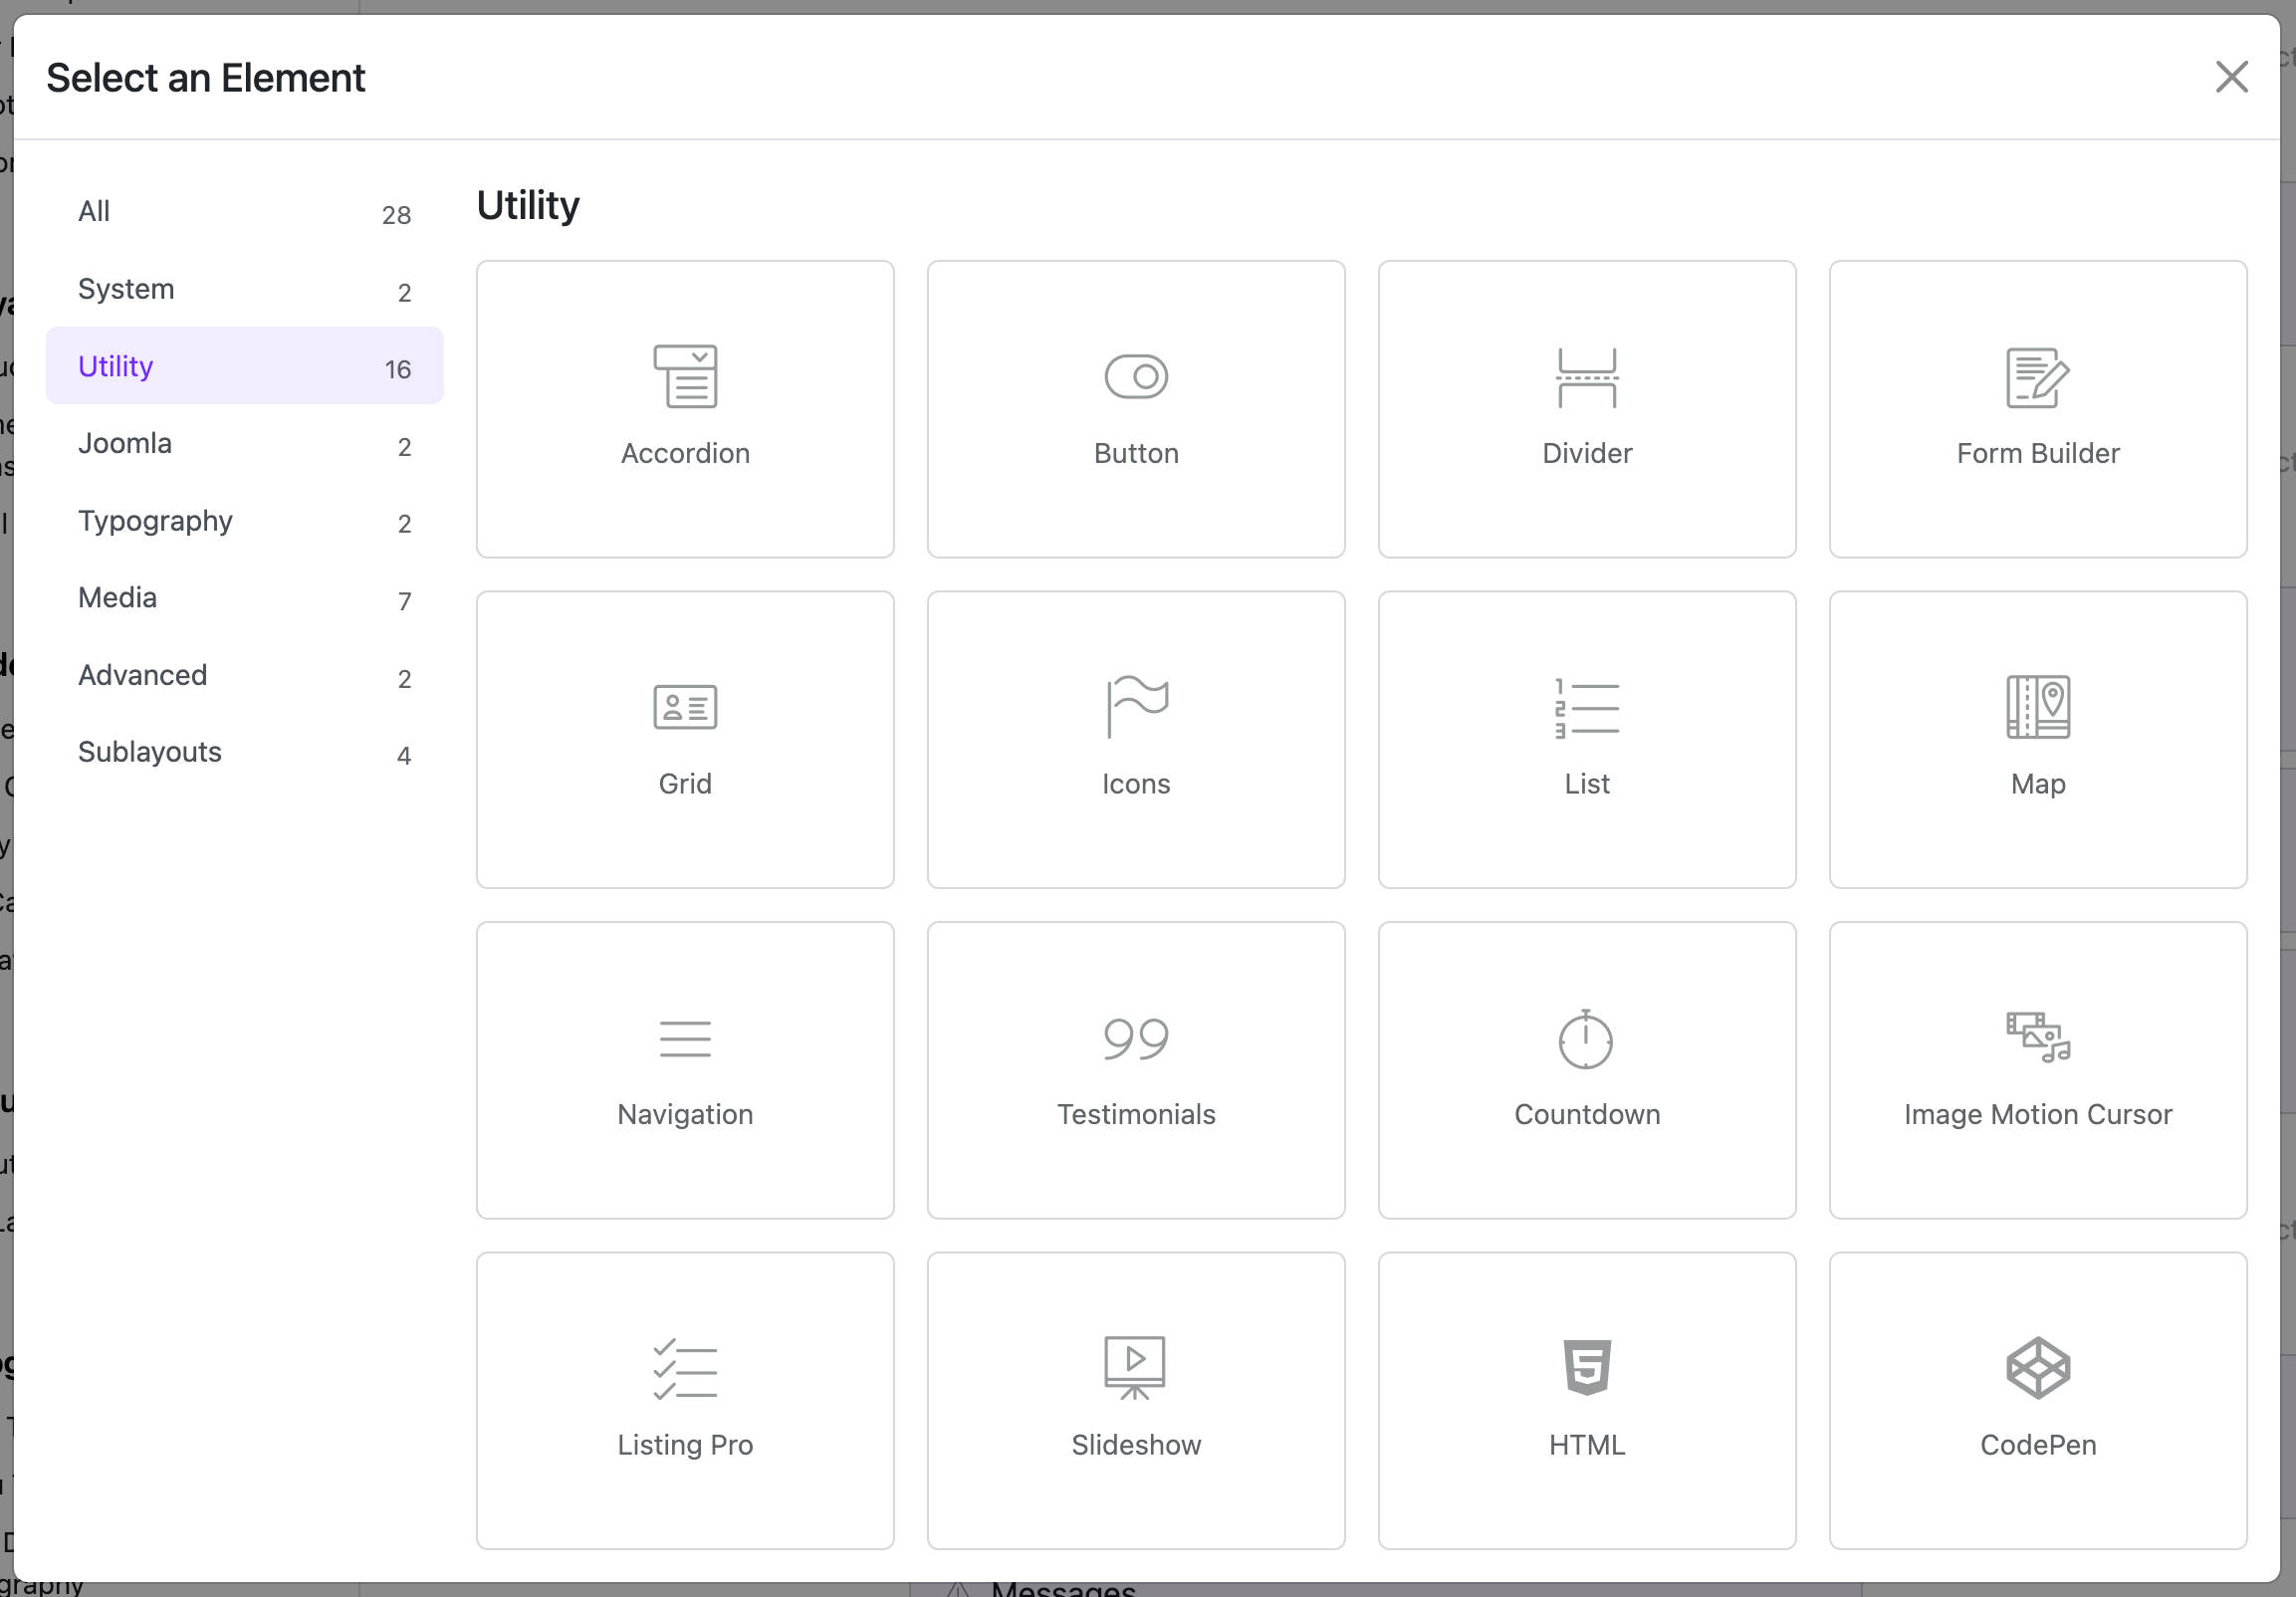
Step 2: Add the Form Builder Widget
- Click on the + Add Section or find the place where you want to add the form builder.
- Click + Add Element inside a section or column.
- Select Form Builder from the list of widgets.

🛠️ Widget Configuration Overview
After you add the FormBuilder Widget to your layout, you’ll see several configuration sections. Here’s what each one does:
1. 📨 Email Settings
| Field | What it does |
|---|---|
| Recipient Email | Where form submissions are sent |
| From Email | The "From" email in your inbox |
| Email Subject | Subject line of the email, e.g. {{subject}} | My Website |
| Email Body | Main message. You can use variables like {{first-name}}, {{message}} |
| Email Headers | Add things like CC, Reply-To (optional) |

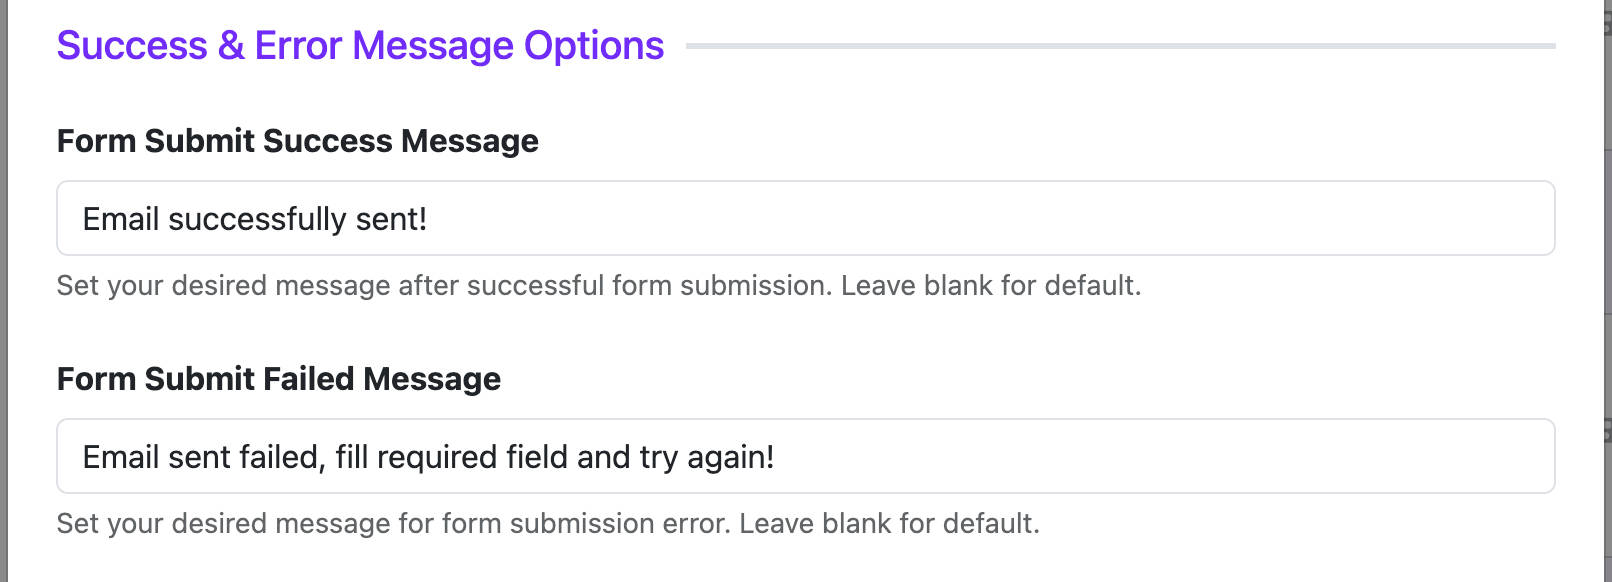
2. 💬 Submit Messages
| Field | Use |
|---|---|
| Success Message | What users see after submitting successfully (e.g. "Thanks! Your message has been sent.") |
| Failure Message | Shown if something goes wrong (e.g. missing required field) |
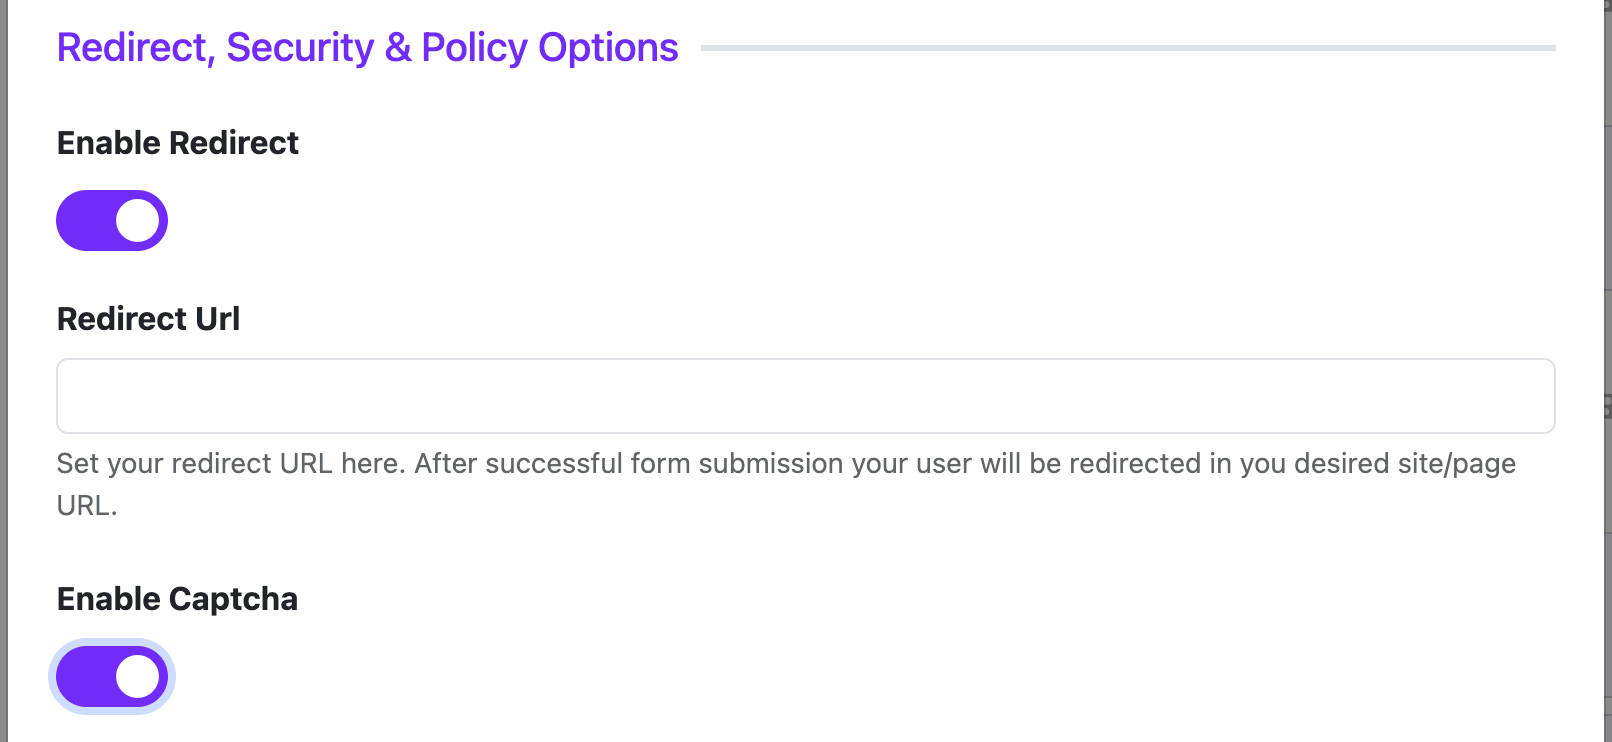
3. 🔐 Policy Options
| Option | Description |
|---|---|
| Enable Redirect | After form is submitted, send user to a thank-you page |
| Redirect URL | The page URL to go to after submission |
| Enable CAPTCHA | Adds spam protection with a CAPTCHA check |
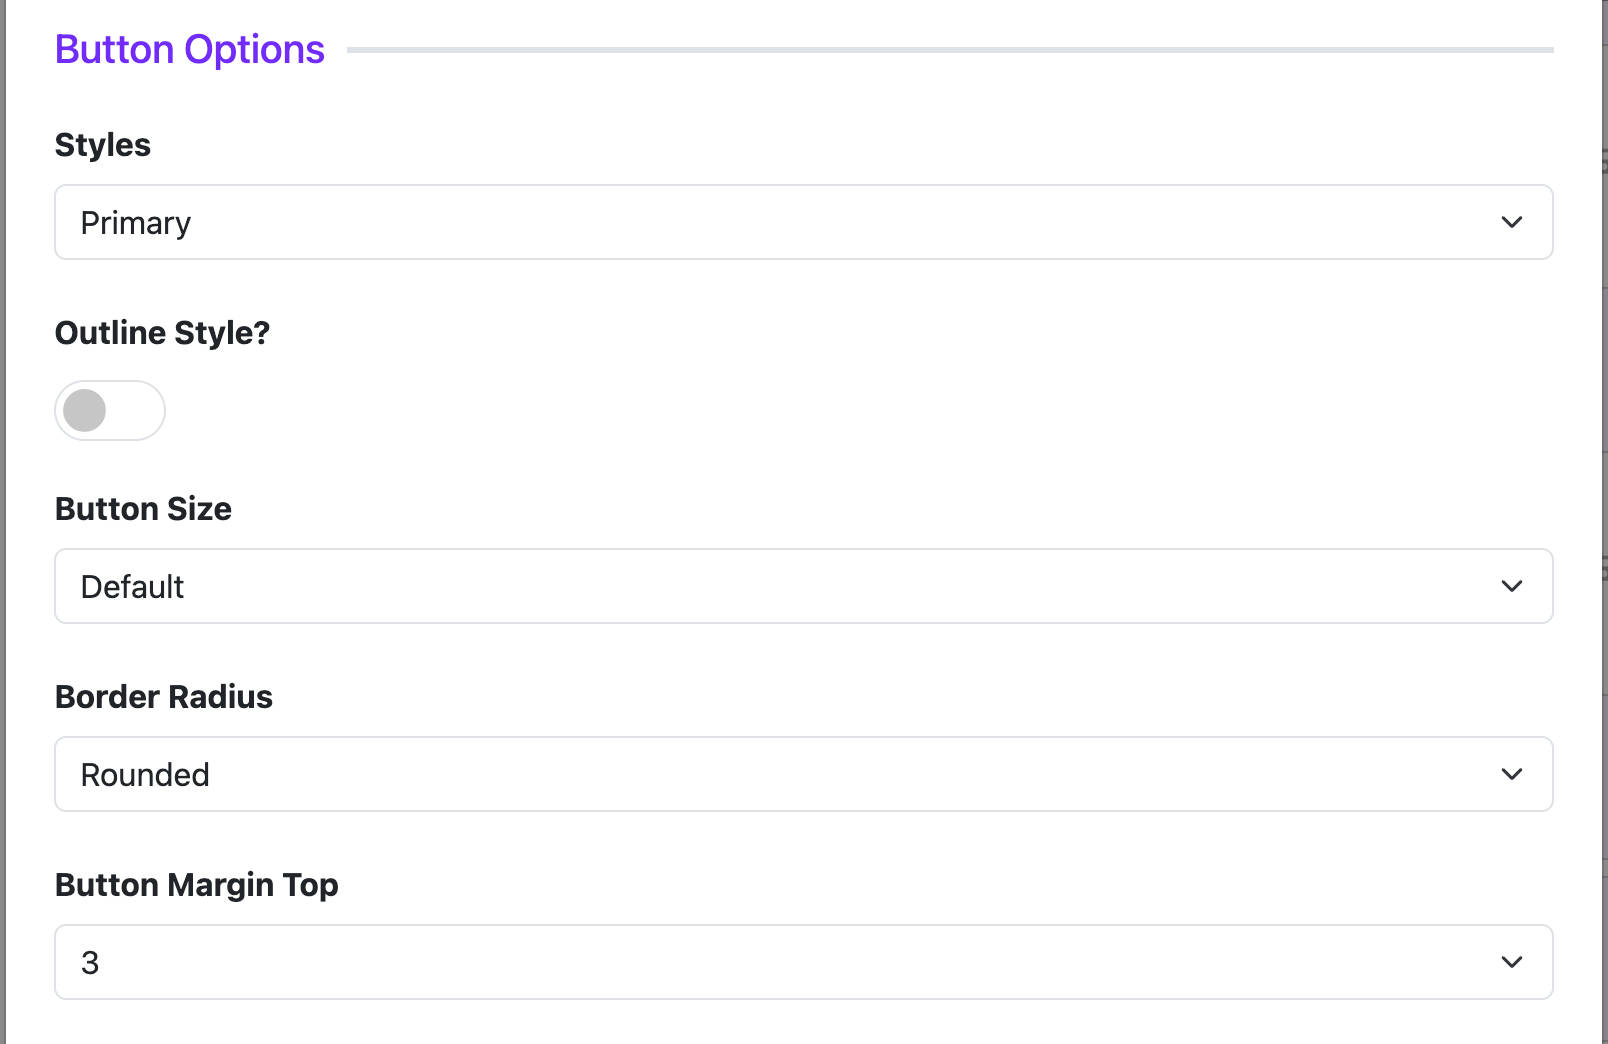
4. 🎨 Button Options
Customize how your submit button looks.
- Button Style: Choose from Bootstrap styles like Primary, Secondary, Danger, etc.
- Outline Style: Switch to outlined button look
- Button Size: Large, Small, or Default
- Corner Radius: Rounded, Square, or Pill
- Top Margin: Space above the button
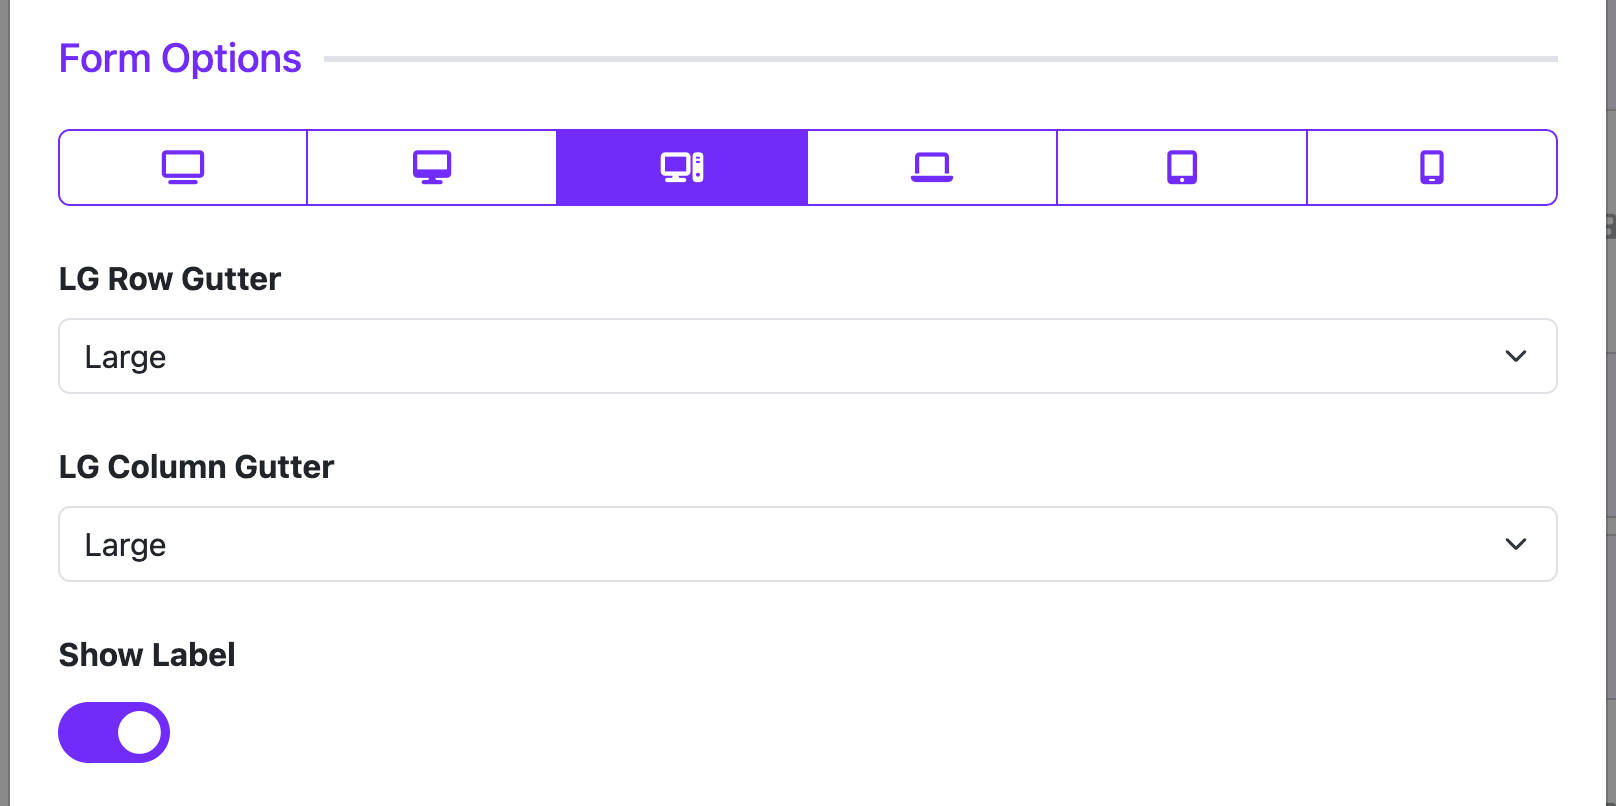
5. 🧱 Form Layout & Responsive Settings
These settings let you control how the form looks on different screen sizes:
| Setting | Purpose |
|---|---|
| Show Labels | Show or hide field labels above inputs |
| Responsive Layout | Select screen size base: lg, md, sm, etc. |
| Gutter Settings | Space between columns and rows (per screen size) |
6. ➕ Adding Form Fields
Use the Form Elements section to add your form inputs.
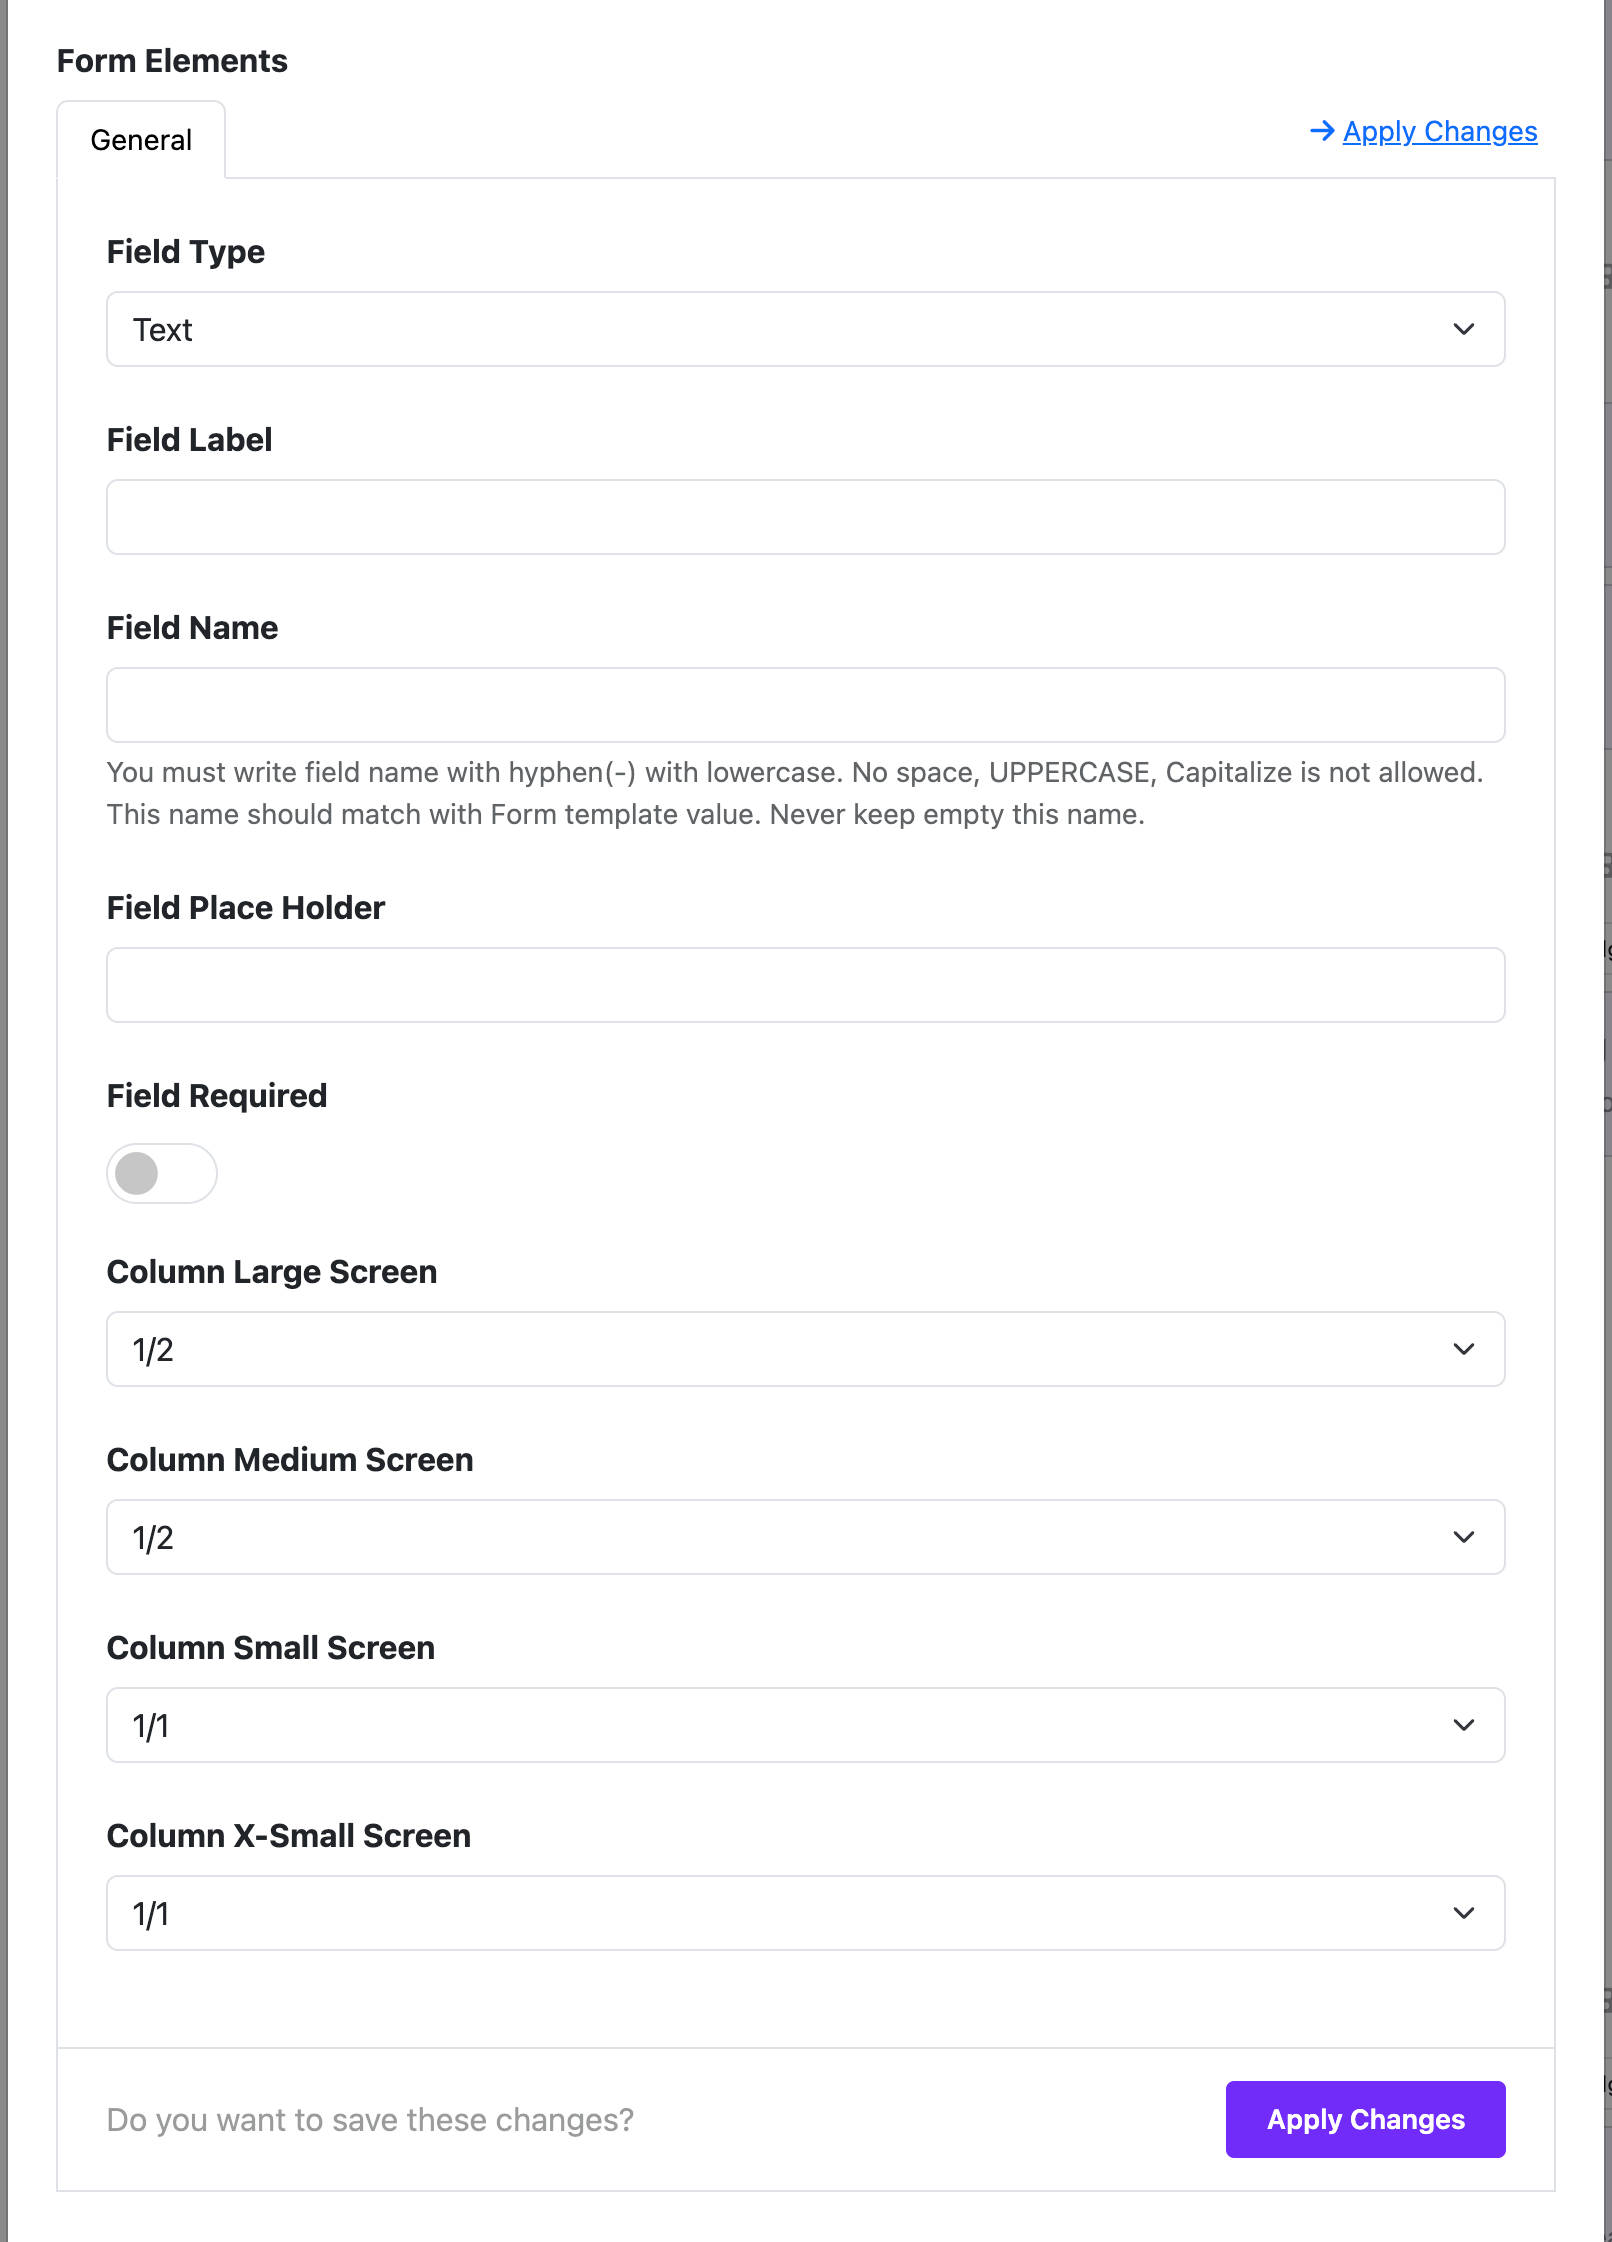
Supported Field Types:
- Text
- Phone
- Textarea (multi-line text)
- Select, Radio, Checkbox (for options)
- Date, Range, Number
Each field lets you set:
- Label: The name shown to users
- Field Name: The technical name used in email template (e.g.
first-name) - Placeholder: Hint text inside the input
- Required: Yes/No
- Column Size: Control how wide the field is on desktop, tablet, mobile
For Select, Radio, Checkbox:
You can define multiple options, set default selected, etc.
📋 Display Control (Assignment)
Choose where your form appears:
- All Pages
- No Pages
- Only on Selected Pages – you choose which menu items
🧪 Example: Contact Form
👤 Fields:
- Full Name (Text)
- Email (Email)
- Message (Textarea)
📩 Send to:
support@example.com
🧾 Subject:Contact Request from {{first-name}}
✅ Show success message
🔐 Enable CAPTCHA
🌐 Show only on Contact Us page
✅ Quick Tips
- Use variables like
{{email}},{{subject}}inside your email settings. - If emails are not received, check your spam folder or email server settings.
- Always enable CAPTCHA for public forms to block spam.